How To Set Up The Perfect RV Campground

Before you can relax and enjoy camping in the great outdoors, you'll first need to set up camp. In this case, we mean setting up your RV at a campsite. If you're a first-timer, it's quite understandable how this can seem intimidating or overwhelming. When you're confused or unsure of what to do, having a checklist will be handy.
While RV veterans may have their campground routine to a tee, beginners can go through their RV setup checklist to make sure nothing's left out. The checklist below will outline the general steps of setting up your RV campsite, but you might need to do more, depending on your RV.
In any case, make sure to arrive at your campground with plenty of time to set up properly. You don't want to rush these things. (The 3-3-3 rule is a good one to follow.) Everything should be set up correctly so you don't have any unexpected issues popping up in the middle of your RV trip.
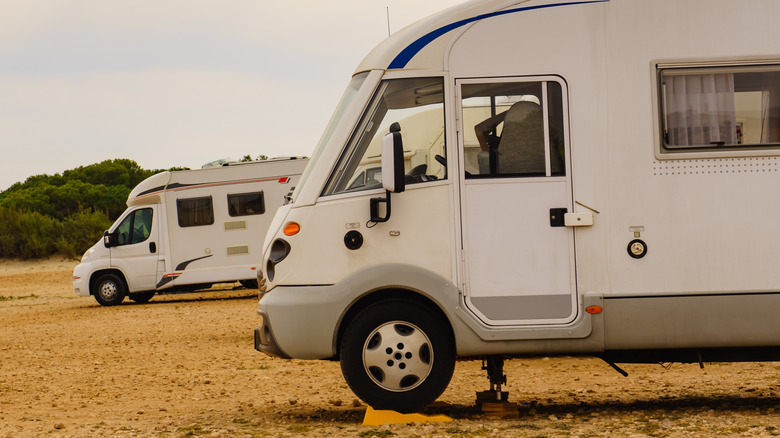
Parking your RV
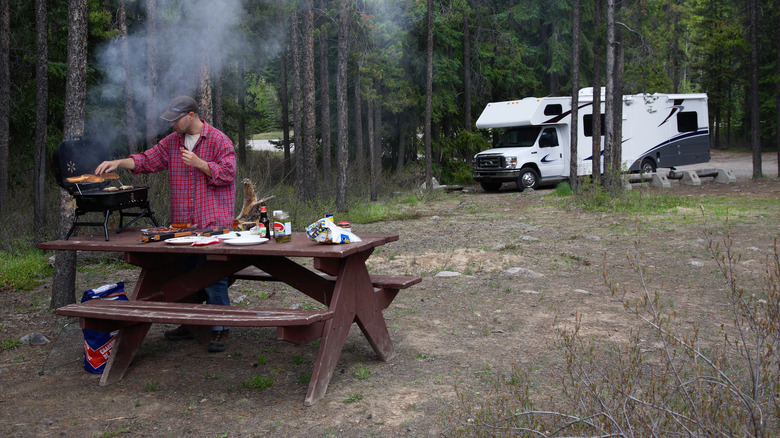
If your campground allows you to pick a site, drive through the area first to find a suitable location. When deciding on a spot, think about three key issues: ground level or unevenness, obstructions, and hookup access. If the campground is uneven, i.e., features slopes or holes, you might need leveling blocks to stabilize your RV. Obstructions include low-hanging branches, hookup pedestals, or any objects that can make it difficult to position your RV or possibly damage it. Keep in mind also that while trees might provide shade from the sun, they can block solar panels and leave dead leaves scattered on the roof. You should also have enough space for your awning and slide-outs. In addition, look for a spot that's near hookups for easier connections to your water, electricity, and sewage.
When it's time to park, have someone become your lookout unless pull-through parking is available at your campsite. Pull-through parking features an entrance and an exit, requiring no backing in, so you can easily do this on your own. Otherwise, a parking lookout can help you maneuver into your spot without hitting anything. They can also make sure that your slide-outs and awnings have space to spread out and that hookup connections are accessible or close by. It's important that you don't rush your RV parking. Take your time and communicate with your lookout buddy all throughout to ensure smooth parking.
Leveling your RV
Once you've parked in your spot, it's time to level your RV. First, ensure you apply the parking brake or emergency brake. Always do this no matter the size of your mobile unit. A parking or emergency brake ensures your wheels are locked and your RV stays put. If you forget to put your brakes on, you face the risk of your RV rolling away while you're busy setting up your hookups, for instance.
Then it's time to check that your RV is level left to right or side to side. If your RV has its own auto-leveling system, use that. If not, you can use a bubble level or other manual leveling tool, which you can either position outside or inside the RV. Some RV campers recommend investing in a leveling device called the LevelMatePRO. It uses Bluetooth technology and comes with an app, so it's fairly easy to use. Just open the app and it will tell you exactly how much your RV is off to one side or the other.
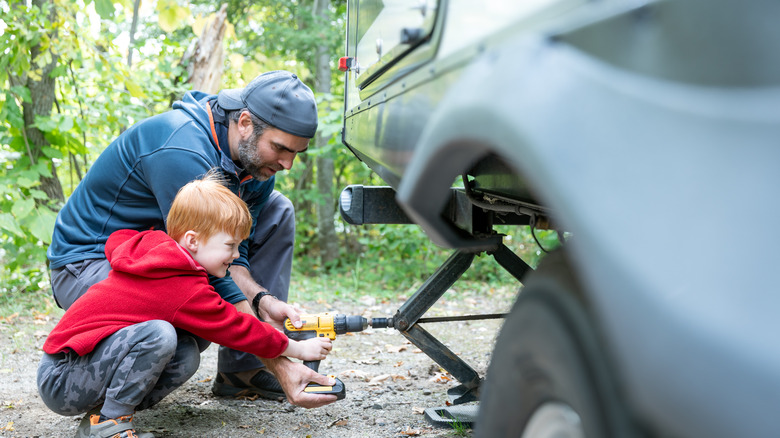
To level your RV front to back, you'll need leveling jacks. Check your RV if it has leveling jacks already installed. If not, you can buy portable jacks from Amazon and other retailers.
Securing and stabilizing your RV
After leveling your RV, it's time to chock the wheels. Some leveling blocks come with interlocking pads that you can stack. There are also plastic ones but these aren't advisable as they can sink into the ground and should you forget about them, the RV wheels just roll over them when you leave. If you can, invest in heavy-duty rubber chocks. Place your RV chocks under a pair of wheels to help ensure your RV will not move or roll away. Wheel chocks are your third level of security to keep your RV in place. They'll work even when your brake or leveling jacks don't.
Once the chocks are in place, it's time to put down your RV's stabilizer jacks. Unlike leveling jacks, stabilizer jacks are not meant to level the RV. Instead, you use them to stabilize a slide-out or other portions of the vehicle. This means that when you're walking inside the RV, you won't feel it swaying too much because of the movements.
Connecting to utilities
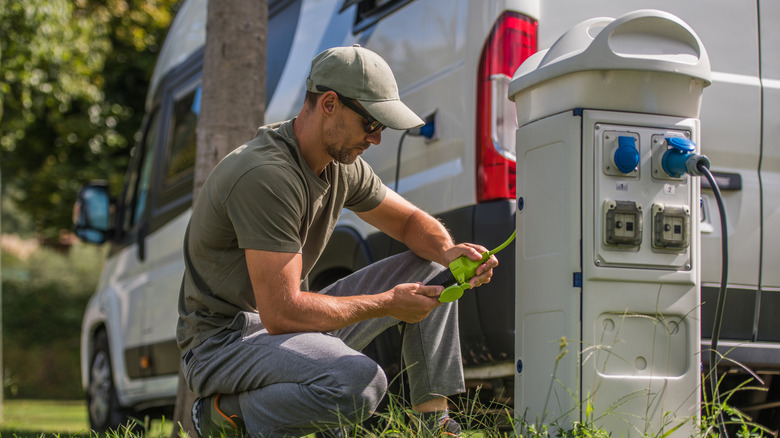
Assuming you're not dry camping, your campsite should provide you with a partial hookup (water and electricity) or a full hookup (water, electricity, and sewage). One of the reasons why you have to level your RV is so that you can connect to these utilities more easily. RVs use 30 or 50 amp and campsites may offer any of these, so it's good to have an adapter on hand as well as a surge protector that you can plug in at camp or install in your RV. With the breaker turned off, plug in the surge protector and adaptor. Then connect to your RV and turn on the breaker. This is the best time to set up your slide-outs to avoid using the battery or solar power.
For your water connection, check to see that water is running before hooking up with a hose that's good to use for drinking water. Then attach a filter and a pressure regulator. The Home That Roams advises using a Y-adapter for hooking up another hose or washing your hands.
Set up your sewage connection last, if it's available. Put on a pair of sturdy waterproof gloves to protect yourself from any mess or spills. Before connecting, check your RV's monitoring system, if available, and make sure both black and gray water lines are closed. Then open the campsite's sewage cap and make the hookup. It's essential that your hose is sloped to avoid any build-ups, so consider using a sewer hose support to keep the flow moving naturally.
Finalizing your RV setup
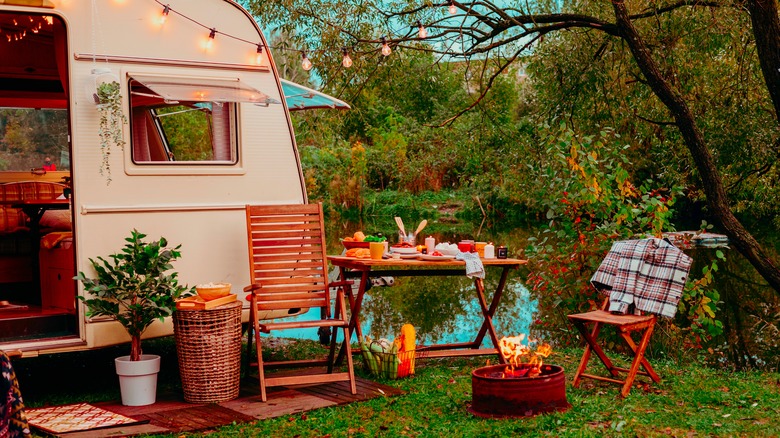
With your water, electricity, and sewage connections all sorted out, it's time to make the campsite feel like home. This most likely means making it comfortable during your stay and making it look pleasant to your eyes. You can set up your satellite TV or internet, bring out the tables and chairs, and put down your carpet or mat by the door.
This is also the time to tend to your pets, if you brought along any. You can keep small pets in their portable pens, while you can tie larger pets to a tree or the rear trailer hitch. You'll also want to sort out where and how you can throw away the trash. Some campsites have a dumpster where you can dispose of your trash, while others might pick it up every morning. Aside from trash issues, you should also ask campground staff for some important info that you'll need in case of emergencies. These include your site number, the campsite's name, and its phone number.