Social Media Users Swear By This Cooler Hack To Make Ice Last Longer On Camping Trips
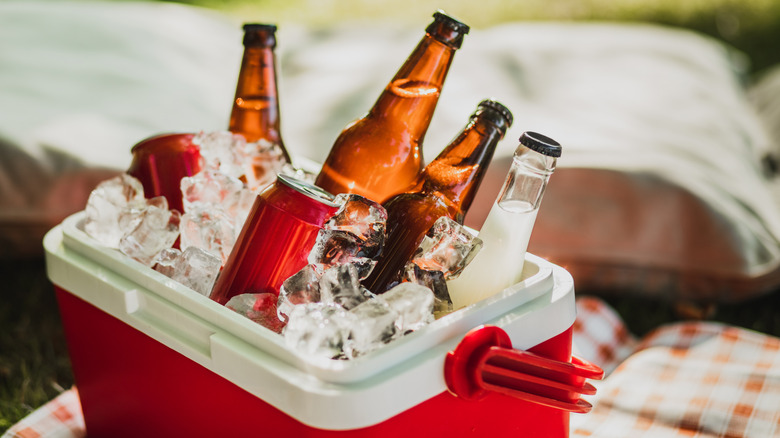
If you're looking for a simple cooler hack to keep food cold longer while camping, there's one making the rounds on social media: just add salt to your ice. It might sound counterintuitive, but there's a scientific reason for why it works. Salt actually lowers the freezing temperature of water, meaning your ice — and everything you're trying to chill — stays colder. Sounds like magic, but it's really just chemistry. If you've ever made homemade ice cream using rock salt, it works the same way.
Don't worry if this makes you scratch your head at first. Plenty of people online bring up that salt is often used on roads to melt ice — so why would you want it in your cooler? As the National Oceanic and Atmospheric Administration (NOAA) explains, "salt has nothing to do with how quickly the ice melts — it just determines [at] what temperatures it will melt (or freeze)." So, as the ice in your cooler melts (which it will, as "cooler soup" is an inevitable outcome of using a traditional icebox), the liquid will stay extra chilly. How cold depends on how much salt you use, with the absolute coldest point being -6 degrees Fahrenheit, according to NOAA.
TikTok creator @h5_mamaventures says this hack works well in place of an electric cooler or fridge. "We put ice and rock salt in the bottom of our cooler with all the meats," she says, "and then laid a sheet of foam board insulation on top to separate everything." However, she notes that it won't work without air circulation, so add holes in the foam board to keep your "fridge" items cool up top without getting soggy.
A saltwater brine can boost your cooler's chill
Why has this salted-ice hack earned loyal fans? First, it's an affordable way to keep food frozen and refrigerated without forking over a hefty sum for an electric cooler. Second, it's simple and efficient. However, too much salt can freeze your drinks, so a little goes a long way. Also, an important part of protecting natural spaces is following "leave no trace" principles — which means no dumping saltwater into the environment.
To avoid salty ice or having to rinse your drink cans, this hack also works with a saltwater brine "ice pack." As YouTuber The Boss of the Swamp demonstrates, add a quarter cup of salt to a 2-quart plastic bottle filled most of the way (not to the top, as water expands when frozen). Then freeze it before heading out. Adding this frozen brine to your ice works just as well, and the homemade ice pack is reusable. It also lets you drain your cooler without dumping saltwater. As commenter @mattwestfall8571 confirmed: "I tried this last year for our 5 to 6 day camping trip. We came home with ice still in coolers and a couple of the salt ice bottles were still partially frozen."
Some campers offered other hacks for keeping items out of the melted ice slush. While your packaged meats and drink cans are usually no problem, most campers would prefer to keep their veggies, sandwiches, and other items dry. "Put the stuff you want dry in a small garbage can placed before you add the ice," suggested TikTok commenter @Here_4_A_Good_Time. "I have some plastic square wire baskets I keep everything in on top," added @crookedpinkies1. With these tips in mind, a saltwater brine is worth adding to your car camping checklist for your weekend getaway.